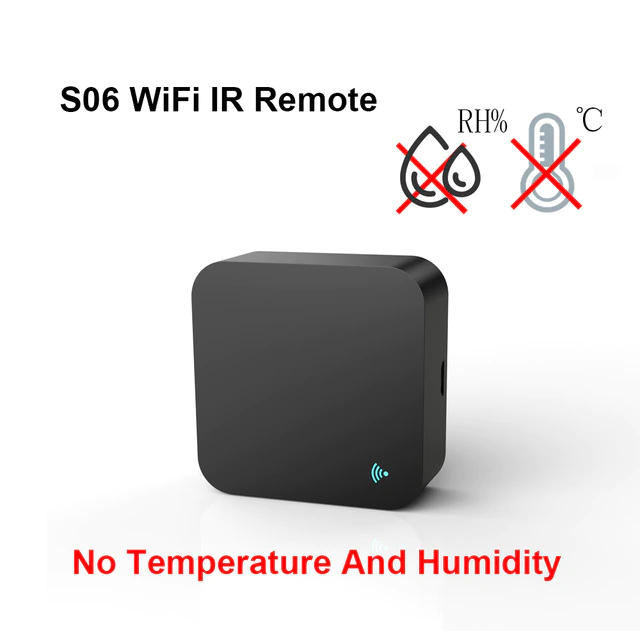
AVATTO S06 WiFi IR Universal Remote Controller (No Temp/No Humidity) - New Version

General Notes
There's two hardware iterations of this particular IR blaster: an older version that uses an ESP01 module, and this newer one that uses a CB3S module (a Beken BK7231N module in the same form factor as the older ESP01). Outwardly, both appear identical.
GPIO Pinout
| Pin | Function |
|---|---|
| GPIO8 | Blue Status LED |
| GPIO26 | Remote Transmitter |
| GPIO7 | Remote Receiver |
| GPIO6 | Reset Button |
Flashing
The device is vulnerable to tuya-cloudcutter, and likely tuya-convert as well. I flashed mine with ESPHome Kickstart
using Cloudcutter, then uploaded an ESPHome UF2 binary from there.
According to documentation on Elektroda, you can also use tools
such as ltchiptool to flash this via serial. There are UART pads labeled on the board and easily accessible. The chip
operates at 3.3v.
Configuration
Some sections containing default ESPHome configuration have been removed from here. Make sure they're filled out in your config.
esphome:
  name: s06_ir_blaster
  friendly_name: S06 IR Blaster

bk72xx:
  board: cb3s

logger:

api:

ota:

wifi:

captive_portal:

light:
  - platform: status_led
    name: "Status LED"
    pin: GPIO8

binary_sensor:
  - platform: gpio
    pin:
      number: 6
      inverted: true
      mode:
        input: true
        pullup: true
    name: "Button"

remote_transmitter:
  pin: GPIO26
  carrier_duty_percent: 50%

remote_receiver:
  pin:
    number: GPIO7
    inverted: true
    mode:
      input: true
      pullup: true
If you're attempting to use this with raw IR commands with an integration such as SmartIR, make sure that you set the carrier frequency accordingly. Not setting this may result in otherwise valid codes not working with your device as anticipated or at all. Valid frequencies typically range betweeen 33-40 kHz or 50-60 kHz, with the most common protocol, the NEC protocol, using a frequency of 38 kHz.
api:
  encryption:
    key: "xxxxxxx"
  services:
    - service: send_raw_command
      variables:
        command: int[]
      then:
        - remote_transmitter.transmit_raw:
            code: !lambda "return command;"
            carrier_frequency: !lambda "return 38000.0;"
If you don't know the carrier frequency, and the NEC default of 38 kHz doesn't work, you can find out what your device's
frequency is by dumping a code from your existing remote. First, modify the remote_receiver definition in the ESPHome
configuration to dump the codes in Pronto form. These include the carrier frequency embedded in them.
remote_receiver:
  pin:
    number: GPIO7
    inverted: true
    mode:
      input: true
      pullup: true
  dump: pronto
Once you flash the firmware, keep the device logs open within ESPHome Device Builder. Take the remote for your device, point it at the IR blaster, and press any button to send a command. You should see a code printed out in the device logs. This may be spread across multiple lines depending on length; combine all lines into one.
Next, open up an IR code converter such as the Sensus IR/RF Code Converter. Paste the Pronto code into the box labeled "Pronto data" and hit Convert; this may take a few moments to analyze. Once done, the Hz box on the left should be filled with a number. This is your carrier frequency.
Go back to the ESPHome device configuration, remove the dump: pronto line, and under the transmit_raw services
section replace 38000.0 with the value you retrieved. If you are controlling multiple devices that require different
carrier frequencies, as might be the case within SmartIR, duplicate the send_raw_command service in its entirety,
rename it to indicate it's not the 38 kHz frequency command, and replace the carrier frequency in the lambda
appropriately.